Windows 7 Backup & Recovery
Windows Backup allows you to make copies of data files and also create a system image which includes your system settings, programs and files. In Windows 7, you can choose your custom location for the data backup and whether or not to include the system image during backup.
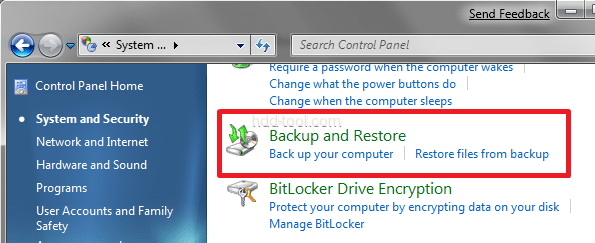
The Backup and Restore is located under System and Security in your Control Panel
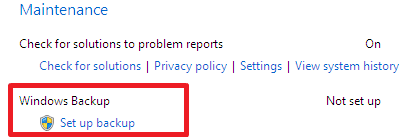
You can also access it via the Action Center
Create a Backup
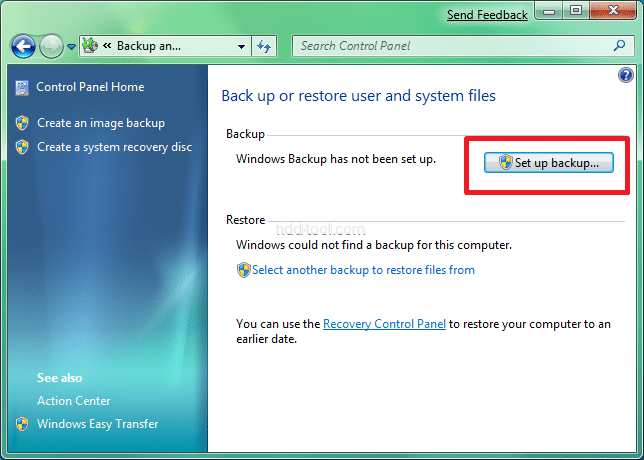
You can start creating a backup from the Backup and Restore center in the Control Panel
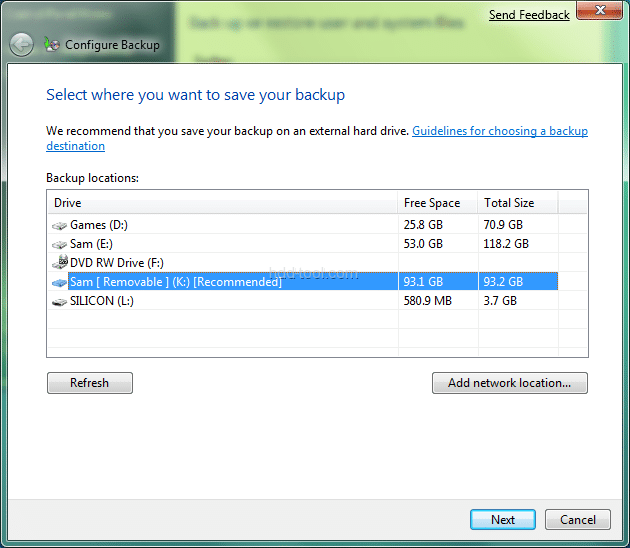
You can choose your preferred location where you want to create your backup
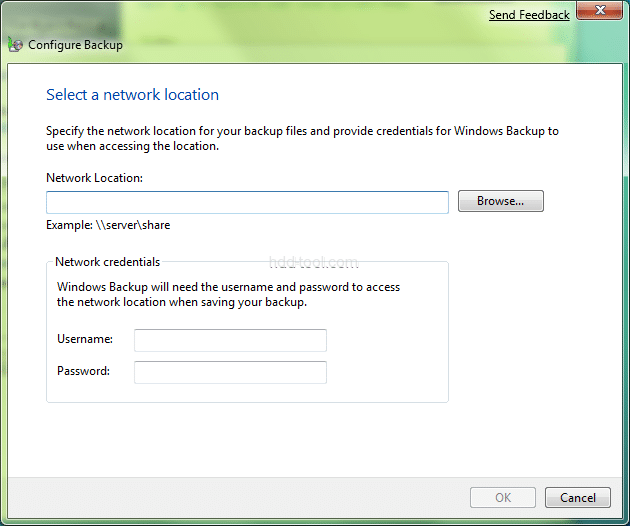
As you can see in the above screenshot, you can also select a network location to create your backup. On clicking Add Network Location, you can add your network path
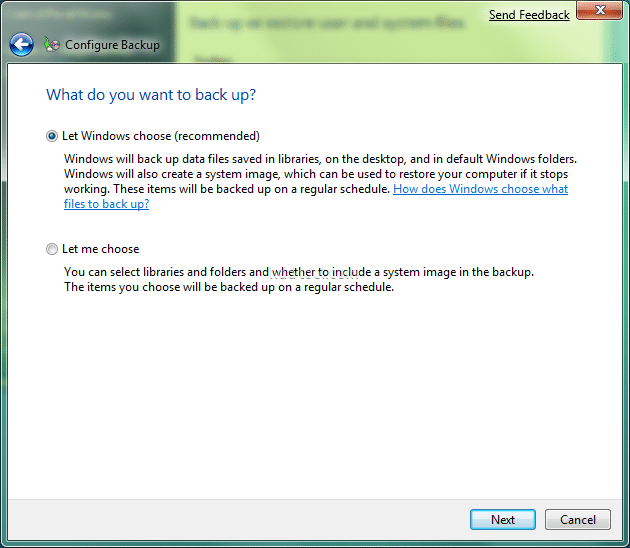
Once you have chosen your location, you can now choose what to backup. You can either leave it to Windows’ choice or you can choose your files
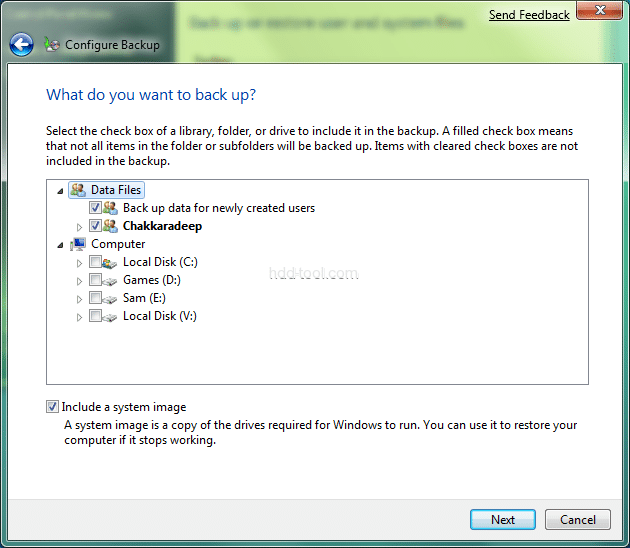
If you chose to select your own files (which I think anyone would prefer), you will be presented now to choose the files for backup
If for some reason you want to go with Windows’ chosen files, here is what you get
You can see that the system image is included by default if Windows’ option is chosen whereas it is available as a choice if we were to select it.
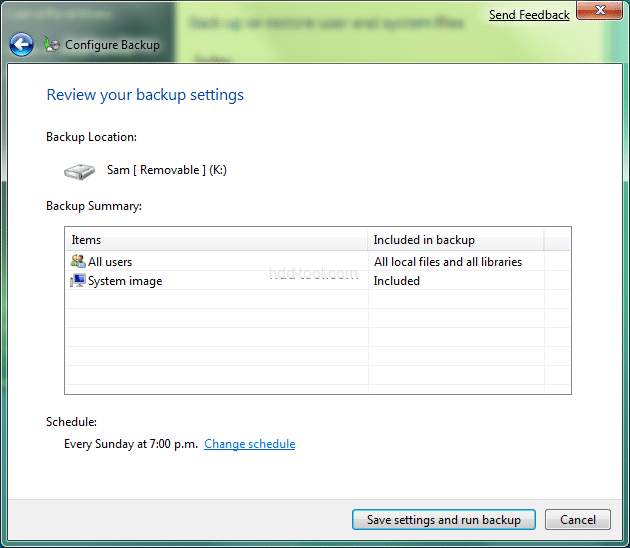
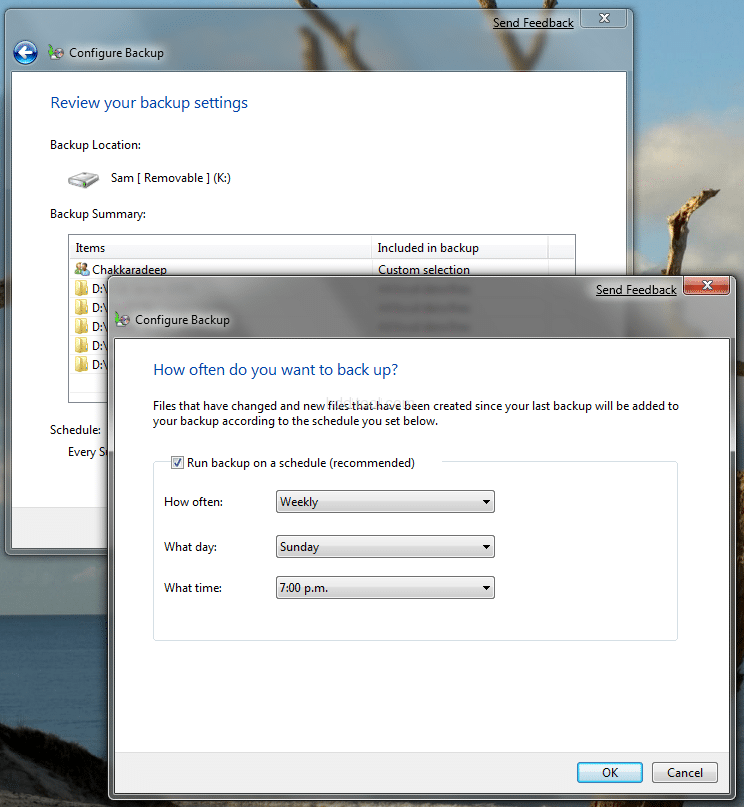
Not to mention that you can schedule your backups whenever you want to
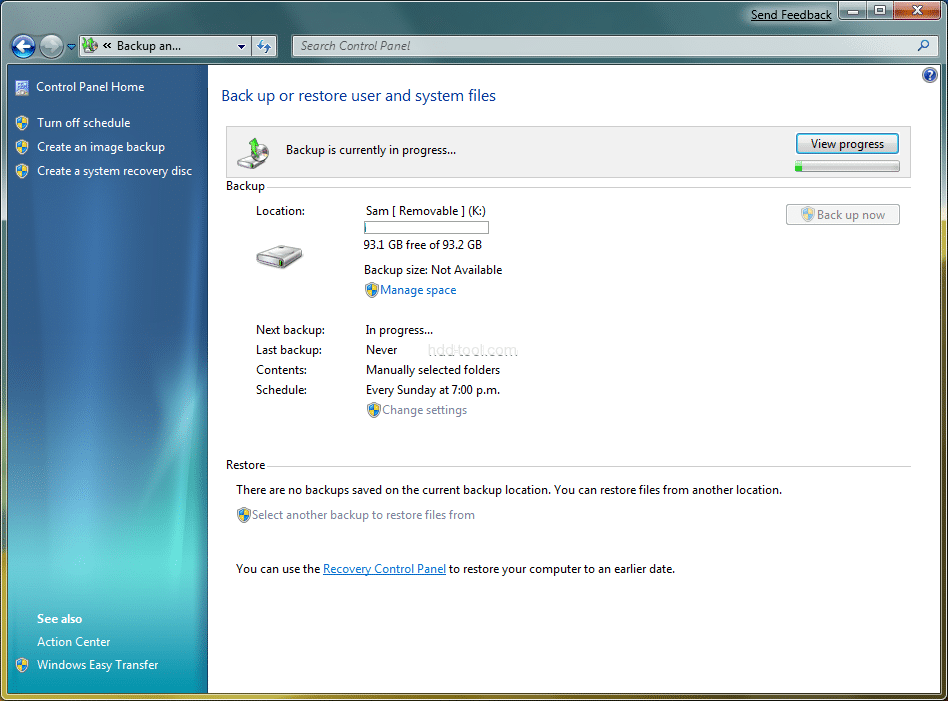
Now you can start your backup process. The Backup and Restore center notifies you that backup is in progress
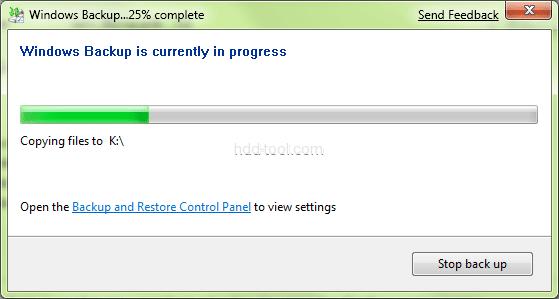
On clicking View Progress, you an have a look at the actual progress
Even Action Center notifies you about the backup
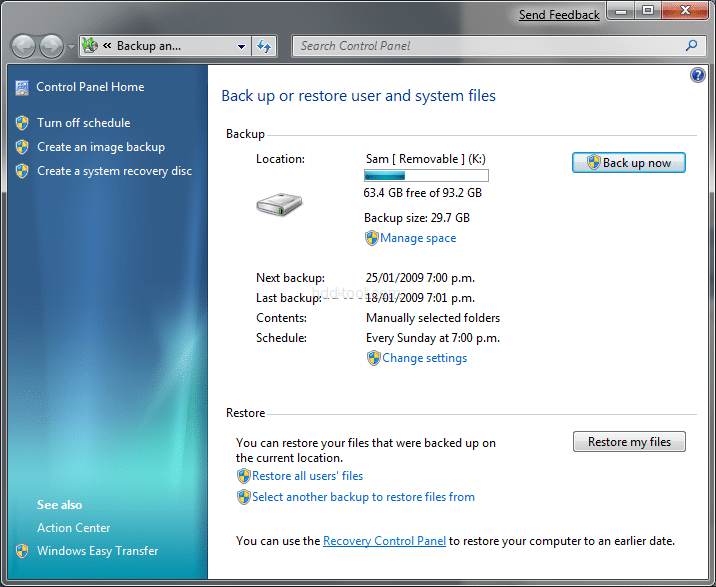
Once your backup process is over, your file is ready to be restored
The Backup and Restore center gives you more information about your backup
System Recovery Disc
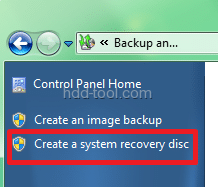
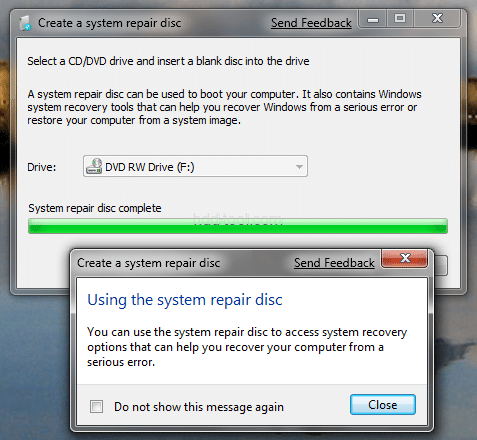
It is worth to mention about creating a system recovery disc in Windows 7. You no longer need the installation disc to create a recovery disc.
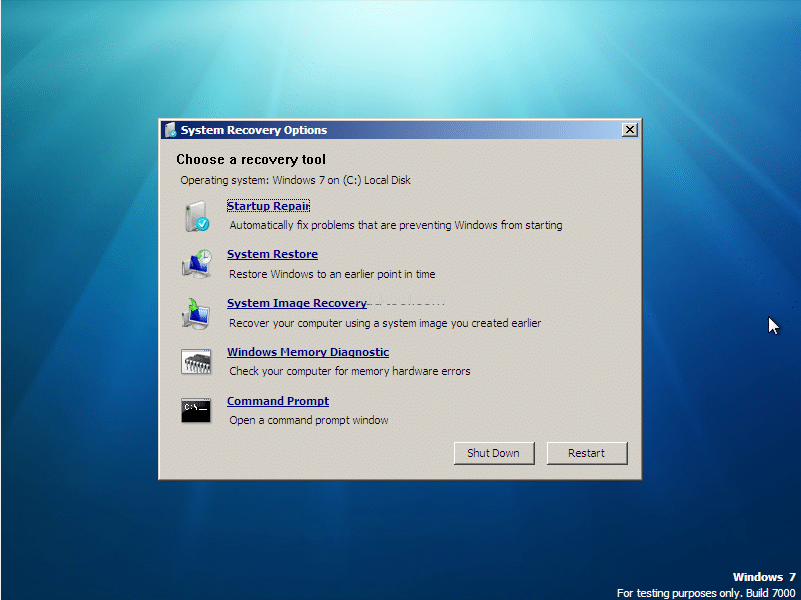
Using the disc created above, you can now repair your Windows 7 installation
Get what you need about hdd tool, pc utilities

