Some people like to add some Windows components after they installed operating system. Among these components, IIS may be the most common used. With IIS components, you can create FTP and WWW services, especially for web engineers. Sometimes, I use this service, too. After I installed Windows 7 and try to add IIS components, I find that Windows 7 has changed the way to add IIS and other components, comparing to Windows XP, so I decided to write an article and share the experience how to add IIS and other components in Windows 7.
How to add IIS and other components in Windows 7?
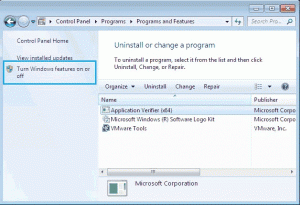
1. Open Control Panel\All Control Panel Items\Programs and Features or Control Panel\Programs\Programs and Features (This depends on how you view the Control Panel items).
2. On top left corner, you’ll find a shortcut ‘Turn Windows features on or off’, click it.
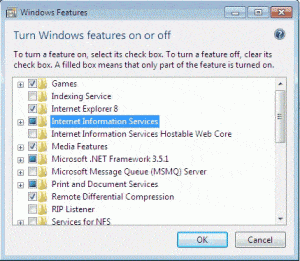
3. Windows 7 will pop up a window, where you’ll see all Windows 7 components. The checked items are the components you have installed. You may find that IIS (Internet Information Services) is not installed by default.
4. Check the IIS and other components (if you need). Please note the difference between marks, a folder with square mark means there are sub folders not checked.
5. After Windows added this component, press Windows & R, input ‘iis’, and then press Enter.
As Windows 7 is different with Windows XP and many people still use Windows XP, I want to give the steps of adding IIS components in Windows XP.
How to add IIS and other components in Windows XP?
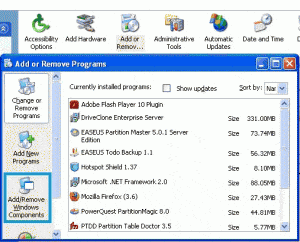
1. Click Start > Control Panel, double click ‘Add or Remove Programs’.
2. Click ‘Add/Remove Windows Components’ on the left panel of pop-up window.
3. Check ‘Internet Information Services’, you may click ‘Details’ to choose the sub-component.
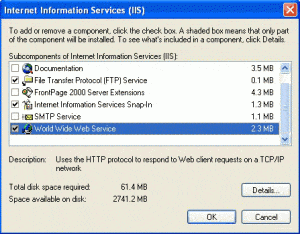
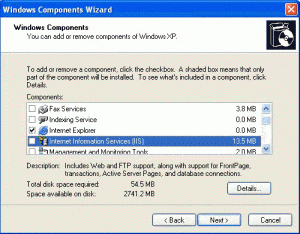
4. Different with Windows 7, Windows XP will ask you to insert the installation CD, otherwise, you cannot add this component in Windows XP.
